
If you want to know how to start making YouTube videos, you’ll love this guide.
With a few simple steps, you’ll be creating content in no time!
Let’s go!
In a world that is so advanced and easily accessible at that touch of a finger it is crazy to think that YouTube wasn’t around 10 years ago and is now one of the worlds largest video sharing platforms, with over 300 hours of video content uploaded every MINUTE. So it’s no secret that YouTube is the ultimate place to post your content. But the thing is you’ve never uploaded a video to YouTube before or let alone even made one and you’re stuck on how to get started.
Well you’ve come to the right place
Before uploading there are a few things you want to establish, so continue on reading to learn everything you need to know about creating a dance video when starting out!
Tip #1 – PLANNING YOUR YOUTUBE DANCE VIDEOS
Great you’ve made up your mind and want to make a dance video showing off your cool moves and new routine but aren’t quite sure on how to start it off.
Before starting anything it’s a good idea to plan it out. Layout all your ideas and see how you can bring your vision to life!
Not everyone is great at planning/ organising things and that’s okay but i’ll help set out a few points and guidelines to which anyone can use and do to help make it happen.
What is the concept?
Do you want your video to have a theme? Is there a storyline? Are you trying to send a message? A certain aesthetic theme or just a simple video?
Make sure you know what you want to achieve/portray before planning anything else as this will help everything else fall into place and easier on yourself and others involved in the process.
Inspiration
If you’re stuck on ideas, watch other dancers, their choreography, how they move, how they utilise camera angles, locations, back up dancers, lighting etc.
Music/Song Choice
A dance video revolves around music so you need to choose your music before or during the planning stage.
Once you have your song choice it will make planning so much easier and just really help make sense to yourself and others of your vision/goal and everything revolving around it.
Frame/Blocking/Staging
Shooting a choreographed video is like a dance between the character and the camera. In this dance, the lead is the characters’ movement through the action, called blocking.
The following is the camera’s motion in response to blocking, often referred to as planning or staging. The camera angle should also be taken into account in your staging, as it has a lot of effect on the final result.
Also the location plays a big part so don’t leave that till last as that determines your layout and lighting.
Set Action Points
Plan out your shots. Action points are movements where there’s change in tempo, vocals or instrument. Encourage different angles, lighting, location etc as that’s really going to tie in the dance and bring it to life.
Have fun with this stage, play around with it and really engage with it.
Rehearse
Practice practice practice. This is the only way you will be able to perfect your moves and get them down pat as well as figuring out what looks good, what doesn’t, what you need to add or take out etc.
Use researching as a mini performance, give it all you’ve got before the final piece. If you’ve got other dancers with you utilise their talents, converse with them, see if they have any ideas or different outlooks that might interest you.
Really use this time to your advantage. And don’t forget to just really communicate with the people you’re working with, make sure you’re all on the same page.
Tip #2 – WHAT IS THE BEST YOUTUBE GEAR/EQUIPMENT FOR DANCE VIDEOS?
So you’ve got the moves down pat and the whole routine ready to go but you’re missing one thing EQUIPMENT! Now starting off you might not have a lot of knowledge or insight on what or how to use and it can be a little overwhelming.
But fear not because i’ve got you covered. When you are thinking of what equipment to get, you have to consider what you are shooting because equipment is very circumstantial.
With all my research that I have conducted I will give you an easy overview as to what you need to help take off:
YouTube Cameras
Now you don’t need a fancy-schmancy, high tech break the bank camera when filming your videos, especially if you’re just starting out.
With today’s technologies it’s very easy to get your hands on a camera pretty much anywhere, if you take a look at your phone you’ll notice there’s one right there! BAM problem solved.
You know the ins and outs of your phone and it’s such a simple device to use that it won’t take you long to set it up and won’t cost you a cent.
And if you’re not happy with the quality of your phone then maybe borrow a friends or family members. In conjunction with this you’re set on filming with a camera then let me run you through a few options to help you out:
- Affordability and quality: Canon Rebel series
- Starting off: Canon Rebel T2i
- Shoot something straight-forward: Canon Powershot
- Small and compact: Sony ZV-1
- A tiny gimbal-mounted camera for ultra-smooth travel shooting: DJI Osmo Pocket
- Accurate autofocus and in-body stabilization: Sony A6600
Camera Lenses for YouTube
However if you do decide to go with a camera then I suggest investing in some lenses, as they create a different effect and you can really just have fun and play around with them.
If you’re not really sure on what lens to go with or start off with I’d suggest going with a wide – angle lense. You want to show as much of the dancing as possible by shooting at a wide angle, so the viewers can see everything.
Tripod/Stands for Cameras
Tripods? Stands? Ahhhh what to do, what to choose? These nifty little contraptions are essential when filming especially if you’re doing it lone wolf style and don’t have any help.
Again there’s so many out there so how do you know which one to choose? Depending if you prefer to just hold the camera and go with the flow then you don’t really need one but for those of you who are looking, have a look at these little beauties…
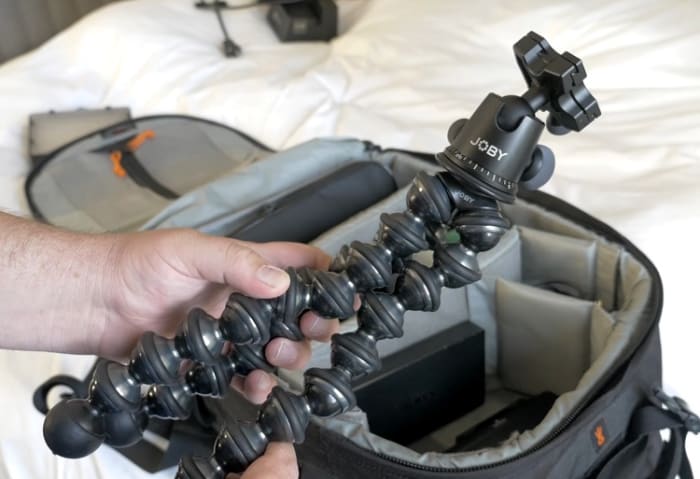
Joby Gorillapod and Ballhead X
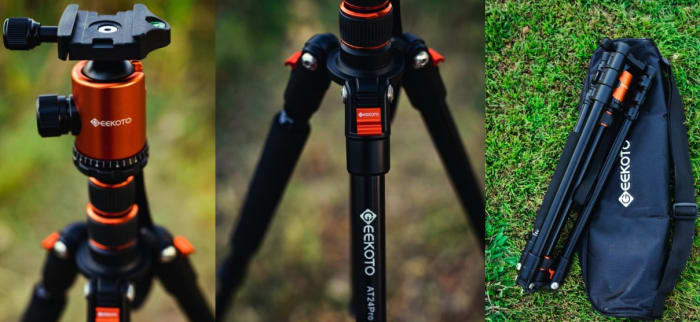
Geekoto 77″ Aluminum Tripod with 360 Degree Ball Head
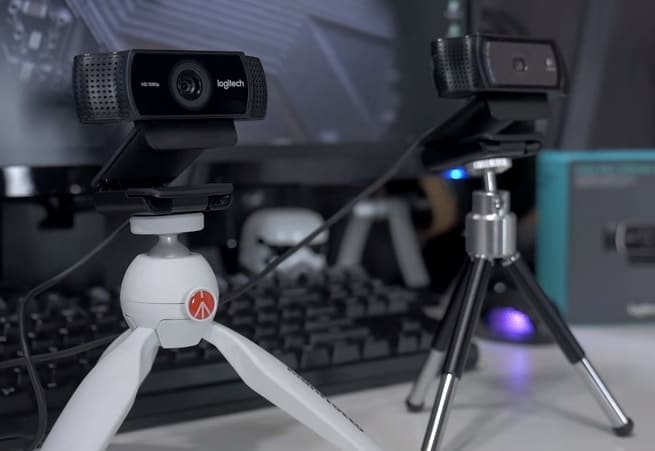
Manfrotto Mini Tripod
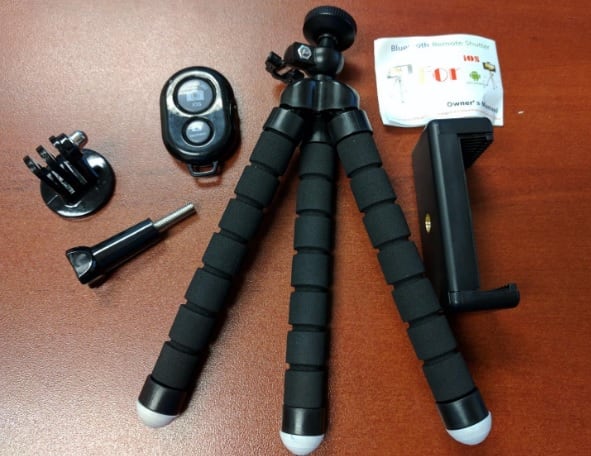
A Good + Cheap Phone Tripod
Lights
Lights? Why would I need to focus on lighting? Good question. Lighting is very important as it helps viewers see you and your moves but also helps tell your story and what mood you want to set the tone of the video.
Lighting can turn a production into one that looks like it’s worth thousands. But then again, if you’re just shooting class videos, ain’t nobody got time for lighting – just shoot and go!
For someone starting off, I would recommend those construction lights that they use on sight. Even though they are super bright it really helps to see the dancer/s and their movement which is what you want and not to get lost in the dark.
Lighting really depends and what you’re going for so you could be indoors and use normal lights or coloured lights etc or if filming outside you could use the sunset or at night car lights or torches. Use lights to your advantage, a lot of people underestimate what good lighting can do and don’t utilise it enough.
Speaker
You’ll need a device to play your music when filming, although i’m sure you know the song and probably have it stuck in your head from replaying it over and over you’ll need a decent portable speaker that’s loud enough to hear when filming.
Computer
Now you’re thinking why would I need a computer if I’m just filming myself dance and then going to upload it straight to YouTube? You have a point there but it’s not as simple as 1,2,3.
If you plan on making a lot of content you’ll want a decently capable computer. The first thing to consider is your hard drive size.
If you’re recording a lot of footage, particularly at higher resolutions and framerates, it’s going to take up a lot of space.
How much space you can use will vary based on how much footage you save, and how much/long you film, so if you erase old footage before starting the next video, you can get away with having less space.
Your computer will be your home base where you put your masterpiece together.
Tip #3 – MUSIC FOR YOUR VIDEOS & WHERE TO SOURCE IT
Obviously you’ll need music otherwise how else would you know when to do the steps on beat (DUH) but when using another artist’s music make sure you state it for copyright reasons otherwise your video will be pulled down and all that hard work gone just like that.
So when videos are uploaded to YouTube they run through a system to see if the content is copyrighted.
Unless you are an artist or decide to make your own music you don’t have to worry about copyright as that song is yours and an original!
But… not everyone is an artist or makes their own music, so what do you do? You can easily access Royalty free music which is a site that requires you to pay once and that’s it! It’ll gain you access to different music or other content whenever you want with no other fees.
It can be found on a number of different sites all you need to do is search royalty free music on google and let your fingers do the walking.
Tip #4 – ALL THE RIGHT ANGLES
Lights, Camera, ANGLES! If you’re not planning on doing anything flashy and just want to keep it simple there’s nothing wrong with that but for those of you who want to make it edgy and give it some sparkle, angles are a great way to do that but don’t get too carried away otherwise it’ll just look like a hot mess.
Angles give your video a different perception and vibe, they can really capture the essence of dance and really showcase your moves. You should always film a couple times so you have versatile angles and can play around with which ones you like and don’t like.
Keep it consistent, try not to cut and change a lot as it will look choppy and will just give the viewer a headache from trying to keep up but also trying to focus on you dancing. Timing is everything so play around with it, have fun and go with what looks good but helps capture your vision.
Tip #5 – EDITING YOUR YOUTUBE VIDEO
This is your most important stage when compiling all your videos together. There are so many editing sites and programs you might not know which is best and end up spending half your savings.
Some are simple and some are a little more complex in the end the choice is yours and what feels easy or right. Here are just a few sites you could use to help give you that head start:
- Lightwork: Is a simple, free editor, and is pretty simple to learn. Operates with OS X, Windows and Linux.
- Adobe Premier: It is the industry standard for video editing, though it is expensive and the learning curve is high – its more suited for complicated content
- Davinci Resolve: Is a great and free tool and is likely the best free editor that you can get, which also has a pro version for more advanced content. It is suitable for MacOS, Microsoft and Linux
- iMovie: Macs built in editing tool. It’s very simple and easy to use and pretty straight forward and won’t cost you a thing unless you upgrade to the pro version.
There are many, many more out there, you just have to find the one for you and your computer.
Tip #6 – UPLOADING YOUR VIDEO TO YOUTUBE
Once you have filmed and edited, export your video to a file and prepare to upload! Keep in mind that the uploading process can sometimes take awhile depending on the image quality, size of your video, and your internet connection, so make sure you leave enough time at the end of the weekend for this.
Fear not if you have no idea how to work youtube and aren’t sure exactly how to upload or what goes where, here are a few simple steps:
Rendering and Uploading Your Video

Once you’ve finished editing, you’ll want to render out your video to a file in whatever application you used to put it together.
Once it’s done though, you’ll want to head over to YouTubes upload page and drop the file in there. Some programs will allow you to directly upload to youtube therefore minimising a step.
YouTube also needs time to process your video before it goes live, to get it ready for distribution. So don’t stress if it’s taking awhile it just needs time to process.
Titling, Tagging, Thumbnails

So once you’ve uploaded your video, you’re not quite finished yet, there are a few things you’ll need to do to finalise everything. You’ll need to fill out your video’s title, description, and tags—all of which help YouTube more easily figure out how to recommend it to people. Your thumbnail matters a lot as well.
YouTube will automatically pick a thumbnail from a random spot in your video, but you’ll almost always want to use a custom thumbnail to attract more people.
You can also add text over the thumbnail but you’ll need to use another program such as photoshop or GIMP. Once that’s all done and finalised and you are happy with the way it all looks it’s ready to make its great debut.
Tip #7 – PROMOTING YOUR YOUTUBE VIDEO TO THE PUBLIC
Ah the final piece of the puzzle. You’ve finished editing and made it look AH-MAZ-ING and have finally uploaded it to the famous YouTube platform, but what now, how do you create attention so people can view your amazing masterpiece? There are a few things that you can do to help promote your video.
- Write engaging must see titles
- Set up your youtube SEO
- Figure out what your audience wants
- Engage with the YouTube community
- Customise your thumbnails
- Collaborate with other dancers/YouTubers
- Promote your content on other social media platforms
I would like to emphasise that the amount of views / likes / shares that every video gets is not representative of its content or popularity.
If you are really serious about the youtube game and would like to expand your channel and knowledge further then I recommend having a look into The Online Creator Institute. It’s jam packed with masterclasses, tons of helpful and reliable info and there’s zero commitment so it’s on your own terms!